How to Build a Portable Stool Suitable for Whitetail Hunting
by Dr. Ken Nordberg
Now that I have succeeded in making you think you ought to buy a stool and use it this coming season, the first thing you'll discover is there aren't many, if any, available in sporting goods stores. Of those that are available, most have tubular aluminum legs. Tubular aluminum legs are too noisy for whitetail hunting, likely to make resounding metallic sounds whenever they contact, strike or brush against hard objects such as tree trunks. Such sounds are ruinous to hunting. Having worn out three acceptable stools in three years (somewhat pricey), I decided to make my own. Not only that, I decided to provide instructions for building a stool like mine for those of you who either cannot find a suitable stool or for the handymen among you who would like to build a good stool at a fraction of the cost a of less-durable or less effective, ready-made stool. Here's how I did it:
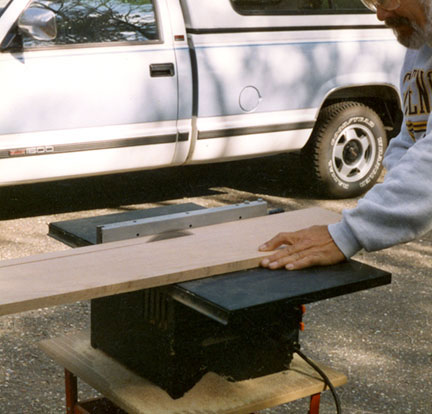
From the 1" x 10" board, rip five 36" long pieces 1-1/2" wide.
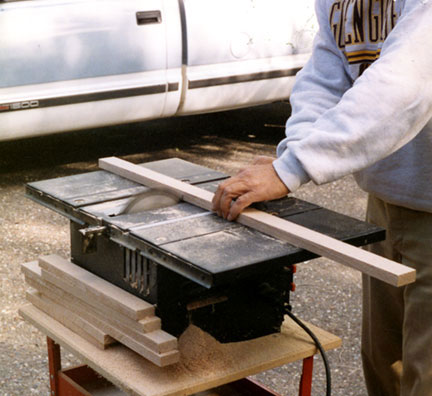
Cut into the following lengths:
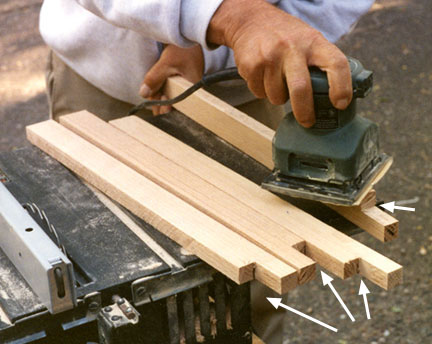
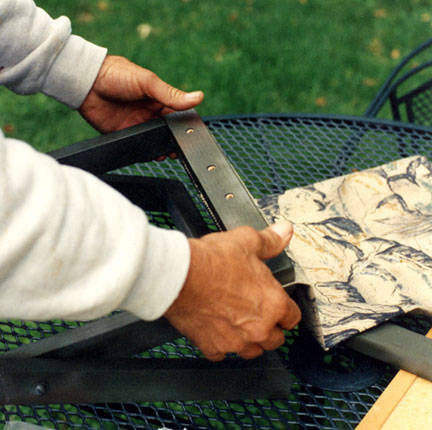
Cut 3/4" x 1-1/2" notches in one end of each 20-1/2" leg (as shown by arrows) and lightly sand rough edges.
Note: rough surfaces are preferred over smooth surfaces because they do not reflect light.
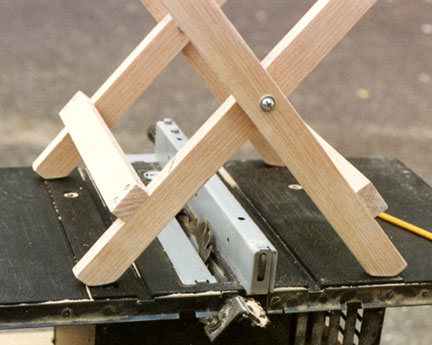
Drill & countersink holes for 1-1/4" screws. Make certain everything is square.
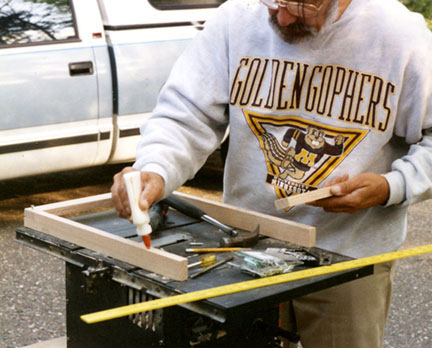
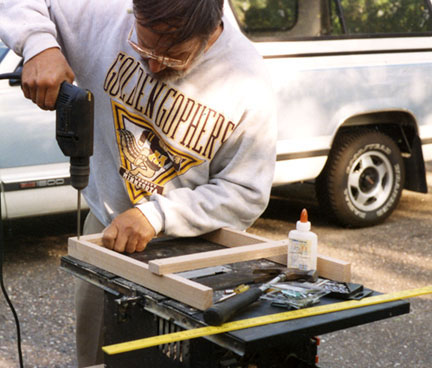
Glue and screw cross-pieces to legs as shown. The outer (wider) set of legs has 14-1/2" long upper and lower cross-pieces. The inner set of legs has a 13" lower cross-piece and an 11" upper cross-piece. See photo accompanying step 7. The reason the upper pieces are assembled in this manner will become clear when the fabric seat is added. Use 1-1/2" screws when attaching 11" cross-piece (from sides).
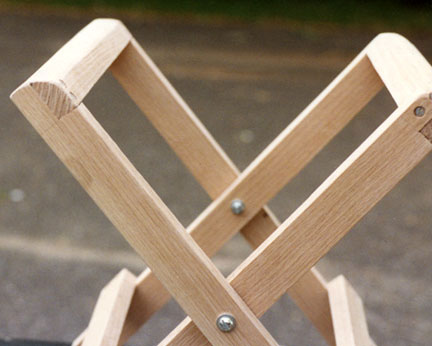
Drill holes for screws and attach upper-back pieces as shown. Do not use glue. The upper-back cross-pieces for both sets of legs are 13" long.
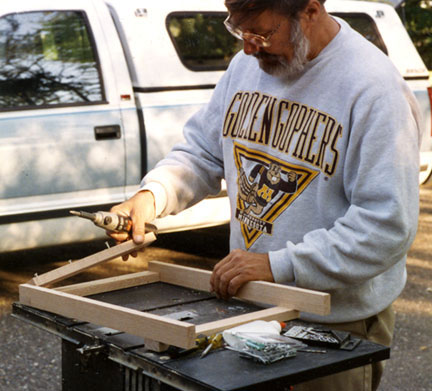
Drill 1/4" holes in exact centers of legs and insert 1/4" bolts, washers and self-locking nuts as shown. Each bolt has three washers -- one on the outside, one between the legs, and one on the inside. After your stool is completed (including painting), lubricate these bolts with Vaseline.
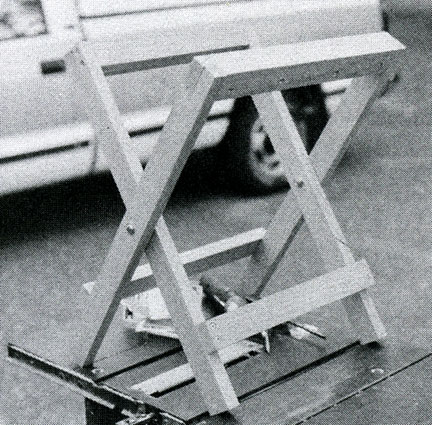
Using a saw, cut off the inner corners of the lower ends of the legs as shown.
(Note how the cross pieces are off the ground. This can help with stability when the stool is placed on uneven ground.)
Saw, plane or sand down the inner edges of upper cross-pieces as shown. This step will add immeasurably to comfort. When drilling and putting in screws, be sure to allow (save room) for this step.
(Notice how, on the right legs, the notches are on the bottom. On the left side they are on the top. If you want, you can have the notches on the top on both sides. This is a little bit stronger.)
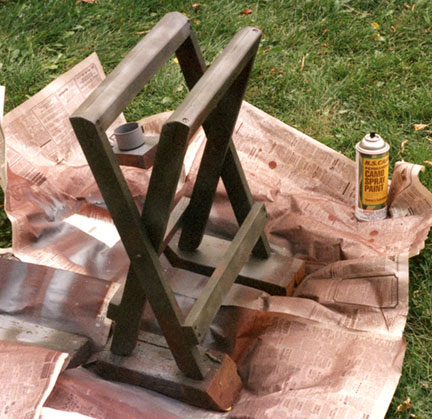
Apply several coats of flat camouflage paint. Dark colors such as olive and brown are best.
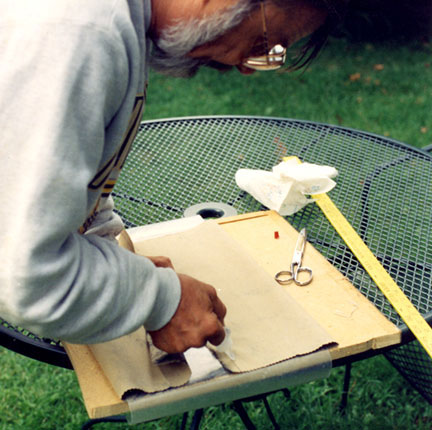
To make a durable seat, fold a 20" x 18" piece of camouflage fabric as shown. The overlapping 1" seam is joined with fabric cement (dries in 20 minutes), forming a seat 13" x 18" in size.
Adding fabric cement to the ends, the fabric is then screwed to place as shown. Use 7 to 8 -- 1 1/4" screws to insure the fabric will not slip when weight is applied. Allow two days for drying before sitting on the stool.
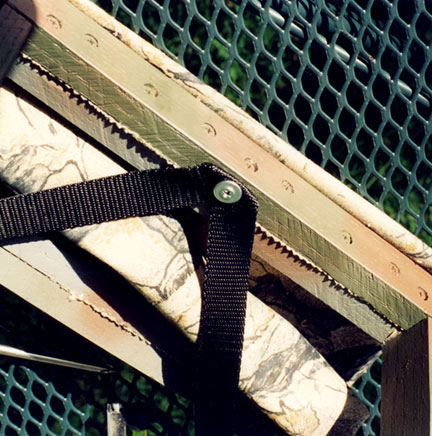
Fold a 6 foot length of 1" nylon belting in center and attach to stool with 1-1/4 flat head woods crew and flat washer as shown. To avoid fraying, use a punch (rather than a drill) to make a hole (for the screw) through the belting.

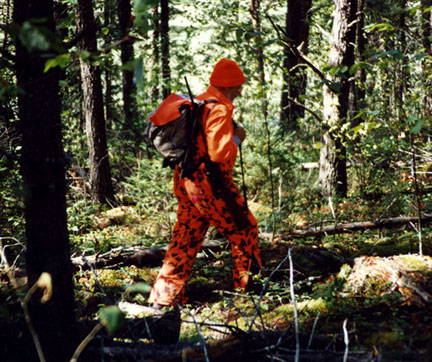
Place your stool (folded) on your back (the top about shoulder high) and place the straps (belting) over your shoulders. (You may wish to do this with your cold-weather hunting jacket on.) Mark each strap where it meets the bottom of each leg of the stool (nearest your back). Cut each strap where marked, melt cut edges with a match, fold about an inch underneath and attach ends to the stool with 3/4" screws and flat washers as shown. Note: both ends of straps are attached to the same set of legs (see photo accompanying step 20).
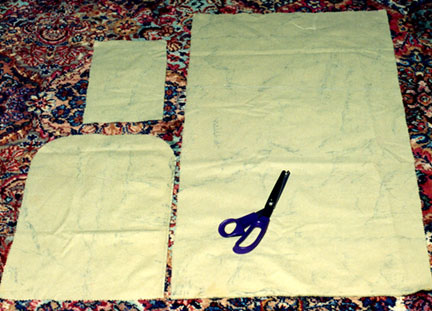
Cut camouflage fabric for pack sack as shown. The front, back and sides are formed by the largest piece, 36" x 19". The bottom is formed by the smallest piece, 7" x 12". The top flap is formed by the remaining piece, 12" x 19", corners rounded at one end.
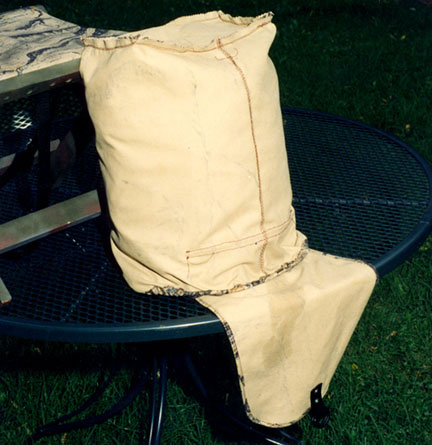
Sew fabric together as shown (inside-out). A wide hem with a bottom hole opening in front is made at the top of the bag to form a tube for the drawstring. After hemming the edges, the top flap is sewn to the center of the back of the bag 4" below the top edge.
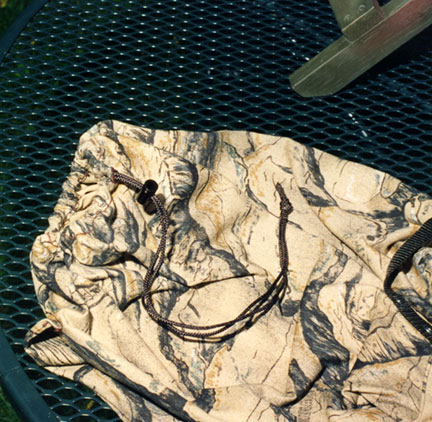
The 26" length of nylon cord is threaded through the top tube, ends tied together with a cinch knot. Burn the ends of the cord with a match to prevent fraying. An adjustable clip (optional) was added to the cord to keep the bag firmly closed while being toted afield.
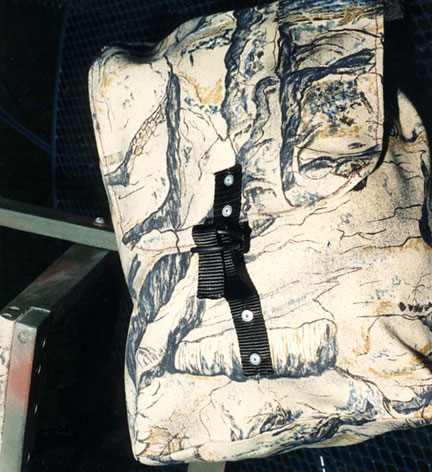
As shown, a silent double D-ring closure is used to secure the top flap to the front of the bag. The D-rings are attached to the flap with a folded 6" length of belting, cemented and riveted in place. The 8" lower strap is cemented and riveted to a 3" section of belting on the inside of the bag.
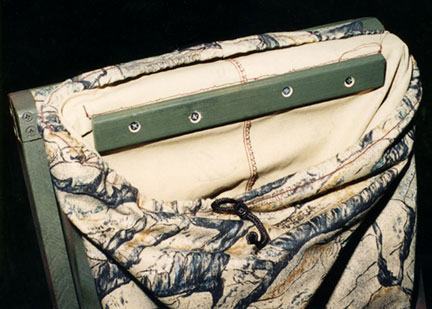
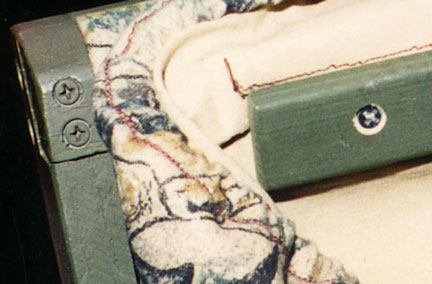
The bag is attached to the stool as shown. A 10-1/2" piece of wooden molding, 1" wide x 1/4" thick, is screwed to place with 4 -- 1-1/4" screws inside the bag over the seam that attaches the top flap to the back of the bag.
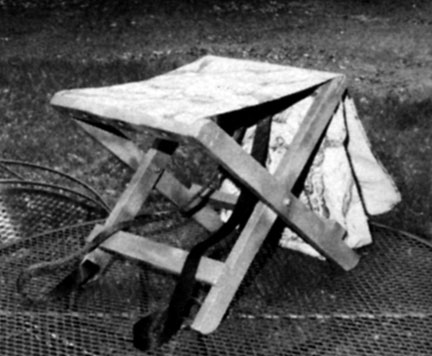
Following a little touching up with camouflage paints (rivets, etc.) and two weeks of backyard weathering, viola, the most important of my buck hunting tools -- Dr. Ken Nordberg's Portable Hunting Stool © -- is ready to use.
Just remember, because you make your hunting stool, you can customize it as much as you want. You don't need to make the bag. You can attatch something you purchase. Just try to use quite camo material. Here are two stools that John Nordberg made. The camo material supposedly "locks" any "scents" inside. (Not really, but that should help you figure out the brand.) Note the variations. John is a big guy. He usually weighs about 250. So he wanted to use stronger legs and cross braces. Also, notice how he notched the tops of the legs so the cross braces sit on top of both sides.
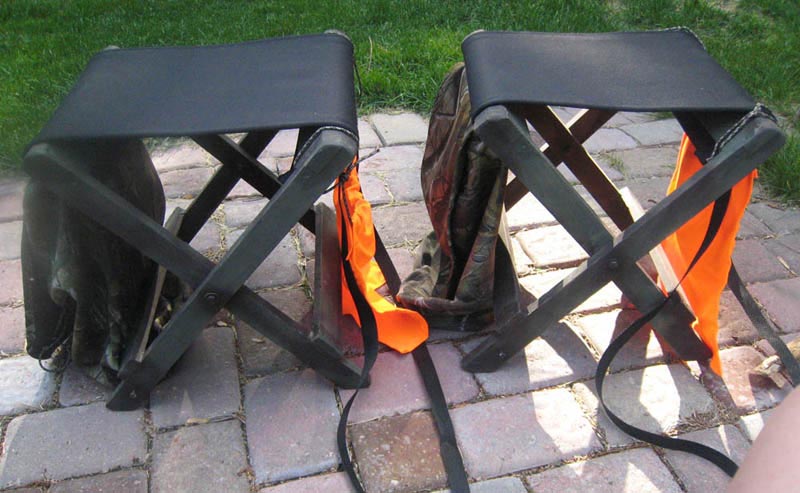
Two "Big Guy" Stools John Made
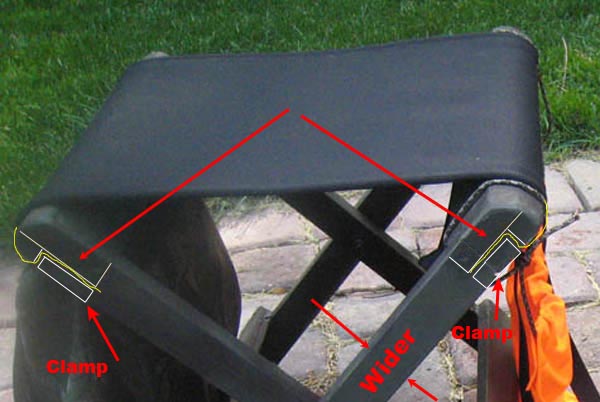
Notice 4 details:
the seat material is a quite, heavy duty synthetic (won't rot);
the cross braces are deeper (stronger side-to-side rigidity);
both notches are on top; and the legs are wider.
Good luck hunting,
Doc